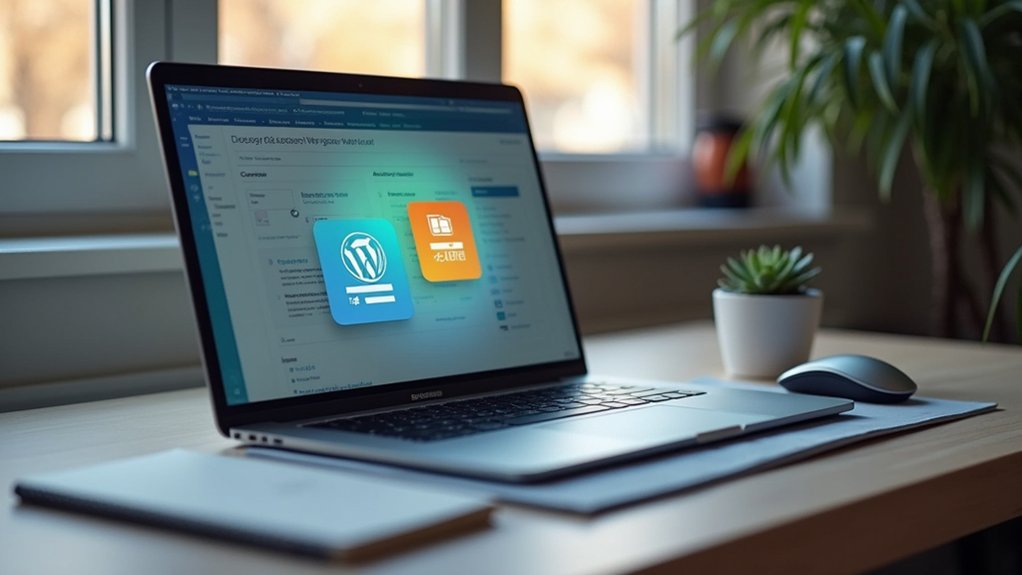
Begin by selecting a concise, relevant area and a reliable hosting provider that supports one-click WordPress installation. Configure initial site settings, including SEO-friendly permalinks. Choose a mobile-responsive theme from the Appearance menu and use the WordPress Customizer for real-time design adjustments. Create core pages such as Home, About, and Contact using the block editor, then structure navigation through the Menus section. Integrate social platforms using plugins or the Social Icons block for seamless connectivity. More advanced procedures await further exploration.
Key Takeaways
- Choose a short, memorable domain name and reliable hosting provider to get started.
- Install WordPress using your host’s one-click installation tool and set up your site basics.
- Pick a theme that fits your style and customize it using the WordPress Customizer.
- Create essential pages like Home, About, and Contact, then organize them in a clear navigation menu.
- Add social media icons or plugins to connect your site with your social profiles and encourage sharing.
Choose Your Domain Name and Hosting
When establishing a WordPress website, selecting an appropriate web address and hosting provider is a foundational step that directly impacts site accessibility, branding, and technical performance.
To choose a web address, prioritize concise, brand-relevant identifiers without numbers or hyphens to guarantee a memorable website address. Register the web address through a reputable web address registrar or leverage free web address offers commonly bundled with hosting providers’ promotional rates.
Initiate a hosting account by evaluating web hosting solutions for reliability, uptime, and support. Managed WordPress hosting is recommended for those requiring automated updates, enhanced security, and technical assistance tailored to WordPress.
Reliable hosting platforms frequently offer introductory pricing, sometimes as low as $3.75/month. This initial configuration underpins seamless site delivery and optimizes future scalability and performance.
Install WordPress on Your Site
Most modern hosting environments facilitate streamlined WordPress deployment through integrated one-click installation tools, typically accessible via the hosting control panel under modules such as “Softaculous Apps Installer.” This process requires the user to specify configuration parameters including the target website, site name, and authentication credentials—admin username, password, and email address—prior to initializing the installation script. Some providers offer automatic installation, expediting access to the WordPress dashboard. Upon successful installation, users log into the dashboard at yourdomain.com/wp-admin using the previously defined admin credentials. Immediate post-installation tasks include configuring your WordPress site title, tagline, and permalink structure for ideal SEO performance. The table below outlines key installation steps and considerations:
| Step | Action | Purpose |
|---|---|---|
| Access Control Panel | Find one-click installation | Launch setup process |
| Enter Site Details | Input site name, admin info | Create authentication |
| Automatic Install | Provider setups WP | Streamline installation |
| Configure Settings | Adjust permalinks, SEO | Enhance site functionality |
Select and Customize a Theme
A vast array of WordPress themes—encompassing both free and premium options—enables site administrators to tailor the visual framework and user interface of their website with granular control.
To select and customize a theme, navigate to the WordPress dashboard and access the Appearance section, then select Themes. Here, users can search, upload, or activate themes, ensuring compatibility with essential plugins and prioritizing user experience.
Premium themes typically offer advanced customization capabilities and enhanced support.
Post-installation, leverage the WordPress Customizer to access customize settings, adjusting typography, color schemes, and layout parameters to align with branding requirements.
The real-time preview function facilitates iterative refinement, allowing immediate assessment of visual changes prior to deployment, thereby ensuring consistent branding and ideal user experience throughout the site’s development lifecycle.
Before configuring site navigation, constructing foundational pages in WordPress is imperative for establishing a coherent site architecture.
To create essential pages, access the dashboard, select “Pages,” and click “Add New Page.” Employ the block editor to customize each page with modular content blocks, optimizing user experience with media and structured information.
After creating the Home, About, and Contact pages, streamline the site’s navigation by heading to “Appearance” → “Menus.” Add your newly created pages, organize menu items to reflect logical hierarchy, and guarantee intuitive navigation. Assign the navigation menu to a display location for maximum visibility.
- Enhance user trust with a clear Home page.
- Foster engagement through a well-structured About page.
- Improve communication by adding a Contact page.
- Optimize user experience with organized navigation.
Connect Your Site to Social Media
Integrate social media functionality into a WordPress site through utilizing the “Social Icons” block within the editor, enabling direct insertion of platform-specific icons—such as Facebook, Instagram, and Twitter—into key interface locations like menus or footers.
To connect your site to social media effectively, employ plugins and themes supporting social sharing, such as “Social Media Share Buttons & Social Sharing Icons,” which injects share buttons into posts or pages using shortcodes or widget areas.
For best engagement and follower growth, guarantee prominent placement of social profile links in headers or footers. Regularly update your website with new content, and leverage automation tools to share posts, maximizing visibility and driving traffic.
This integration enhances website needs, facilitates content creation, supports sharing content, and improves your website for search engines.
Frequently Asked Questions
What Are the 7 Steps to Create a Wordpress Site?
To create a WordPress site, one must configure website address and hosting, perform WordPress installation, select and customize WordPress themes, handle user management, conduct plugin installation, enable SEO optimization and site security, facilitate content creation, media uploads, and implement backup solutions.
How to Build a Website With Wordpress Step by Step?
To build a website with WordPress, users initiate theme customization for responsive design, configure essential WordPress plugins for site performance and website security, implement SEO optimization, develop a content strategy, enhance user engagement, integrate e-commerce setup, and apply advanced blogging tips.
Can a Beginner Build a Website With Wordpress?
A beginner can build a website with WordPress through utilizing intuitive theme selection, extensive customization options, essential WordPress plugins, and SEO basics. Effective content creation, site maintenance, troubleshooting issues, and optimizing user experience are facilitated through detailed website design and beginner tips.
How to Learn Wordpress Step by Step for Beginners?
To learn WordPress step by step, beginners should explore WordPress themes, customize sites via the customizer, manage content, install essential plugins, apply SEO basics, guarantee responsive design, enhance website security, optimize user experience, access troubleshooting tips, and utilize online resources.
Conclusion
In conclusion, building a foundational WordPress site involves registering a web address, configuring hosting environments, executing WordPress installation scripts, and selecting a responsive, customizable theme via the dashboard. Users must generate core pages—such as index.php and contact.php—while utilizing the menu editor for intuitive navigation. Integrating social media APIs enhances connectivity. Through methodical configuration and the use of WordPress’s robust backend, even novice developers can deploy a functional, extensible, and professional website architecture efficiently.