Bluesky users can modify their handles through the platform's settings while preserving their followers and account history via the Decentralized Identifier (DID) system. The process involves accessing account settings, selecting "Change Handle," and following verification steps. Users can implement standard modifications or integrate custom web addresses as handles, requiring DNS verification for enhanced security. Understanding the platform's handle customization features reveals additional opportunities for digital identity management and brand development.
Key Takeaways
- Yes, you can change your Bluesky handle through the Settings menu while keeping your Decentralized Identifier (DID) constant.
- Handle changes don't affect your followers or connections as they remain linked to your account's DID.
- Users can modify handles to use custom web domains instead of the standard .bsky.social suffix.
- The handle change process requires accessing account settings and selecting "Change my handle" option.
- Custom domain handles need DNS verification through TXT records, while standard handle changes are straightforward modifications.
Understanding Bluesky Handles and Their Importance
Identifiers on social media platforms have evolved considerably, and Bluesky handles represent a sophisticated approach to user identification. These unique handles serve as distinctive markers that enable users to maintain their presence while retaining the flexibility to adapt their online identity as needed.
What sets Bluesky handles apart is their relationship with the platform's Decentralized Identifier (DID) system. While handles can be modified at will, the underlying DID remains constant, ensuring that user connections and follower relationships stay intact through any handle changes.
This architecture allows for both professional presentation through custom web addresses and the freedom to rebrand without losing established networks. The system demonstrates a forward-thinking approach to digital identity management, balancing user autonomy with platform stability.
Setting Up Your Bluesky Account
The registration process for Bluesky begins at bsky.app, where users must provide essential information including their email address, password, and date of birth.
During initial setup, users select their unique handle, which becomes their primary identifier within the platform's ecosystem.
Account activation requires email verification, followed by profile customization steps such as uploading a profile picture and selecting relevant interests to enhance platform engagement.
Initial Registration Steps
Starting a Bluesky account requires several essential registration steps through the platform's official website at bsky.app. Users initiate the process by clicking the Sign Up button, after which they must provide their email address, create a secure password, and input their date of birth for verification purposes.
A vital element of registration is selecting a unique handle, which becomes the user's primary identifier on the platform. While users should choose their handle carefully, Bluesky may offer options to change handle settings later.
Following handle selection, users must complete email verification to activate their accounts. The final phase involves personalizing the profile with a photo and selecting relevant interests, establishing the account's digital presence within the Bluesky community.
Profile Setup Essentials
Setting up a thorough Bluesky profile involves several essential steps beyond basic registration. Users must first verify their email address to activate their account functionality.
The platform then prompts users to select a unique handle, which becomes their primary identifier within the community. This handle can be modified later if users need to change their branding strategy.
Profile customization continues with the addition of a profile picture and the selection of relevant interests, which helps optimize the user experience and content discovery.
These personalization elements are vital for establishing a distinct presence on the platform. The flexibility to change my handle later provides users with the freedom to evolve their online identity while maintaining their established follower base, making Bluesky adaptable to users' changing needs.
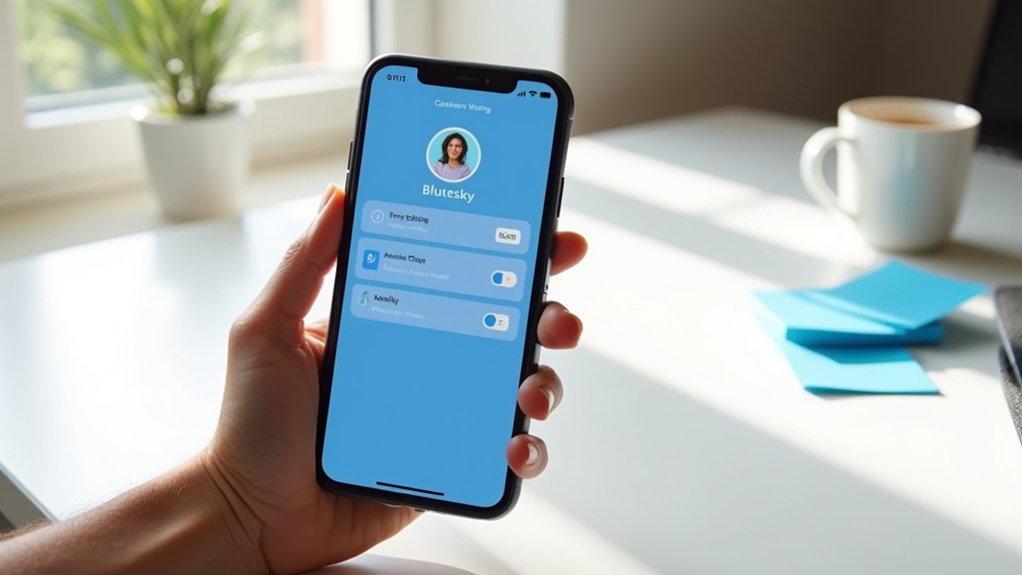
Accessing the handle change feature in Bluesky requires maneuvering to Settings and selecting the "Change my handle" option from the left panel menu.
Users with custom websites can initiate website verification by choosing the corresponding option and adding a TXT record through their domain registrar or DNS provider.
The process concludes with clicking the "Verify DNS Record" button to confirm website ownership, followed by selecting Update to implement the new handle.
Steps for Handle Updates
Making changes to a Bluesky handle requires users to follow a systematic process through the platform's settings interface.
Users initiate the process by accessing the Settings menu and selecting the Change Handle option. When prompted, those with custom addresses should select the "I have my own address" link in the dialog box.
Address verification involves adding a TXT record to DNS settings using the confirmation code provided by Bluesky. After implementing the DNS record, users must click the Verify DNS Record button to validate address ownership.
The final step involves clicking the Update button to implement the handle change, which will then be reflected in the user's profile. This technical process guarantees secure and authenticated handle modifications within the Bluesky platform.
Account Settings Navigation
The initial phase of handle modification on Bluesky begins with precise navigation through the platform's account settings interface.
Users must access these controls through their account image located in the main view, which serves as the gateway to the platform's configuration options.
The systematic process follows these key steps:
- Navigate to Account settings in the left panel of the interface
- Locate and select the Change Handle option within the settings menu
- Choose the appropriate pathway based on handle type – either standard modification or custom web address implementation
For users implementing custom web addresses, the interface presents specialized options requiring DNS verification.
This technical process guarantees secure handle changes while maintaining platform integrity through proper web address validation protocols.
Domain Verification Process
Through Bluesky's territory verification system, users can establish custom handles by linking their registered territories to their accounts. The area verification process requires users to first access their account settings and select the "Change Handle" option, followed by choosing "I have my own area."
The technical procedure involves adding a TXT record to the area's DNS settings, which contains a specific confirmation code provided by Bluesky. This code serves as proof of area ownership.
Users must guarantee their areas are properly registered and accessible through a DNS provider before initiating the verification steps.
Once the TXT record is properly configured, users complete the process by clicking the "Verify DNS Record" button within Bluesky's interface. A successful verification results in a confirmation message, enabling the custom handle implementation.
Custom Domain Integration on Bluesky
Many users seeking to enhance their professional presence on Bluesky can integrate a custom namespace as their handle, replacing the standard .bsky.social suffix with their own web address.
This strategic customization strengthens brand identity and secures unique online representation.
The implementation process requires:
Setting up your custom namespace requires a straightforward process involving handle modification and DNS verification steps.
- Selecting "I have my own web address" during handle modification
- Entering the custom web address without "www" prefix
- Adding a TXT record to DNS settings for ownership verification
Once the DNS verification completes, which may vary in duration due to propagation times, users receive a "Web address verified!" confirmation within the application.
This custom web address integration not only boosts professional presence but also prevents handle recycling, ensuring long-term brand protection and digital identity consistency across platforms.
Benefits of Using Your Own Domain Handle
Digital professionals who integrate custom web addresses on Bluesky gain significant advantages in brand management and online identity control. When users become web address verified, they establish enhanced credibility and professional presence within the platform's ecosystem.
Custom web address handles offer strategic benefits for long-term platform utilization. Users maintain consistent branding while ensuring their digital identity remains protected from potential impersonation. The verification process, accomplished through DNS record modification, provides a cost-effective method for establishing authenticity.
Additionally, web address handles facilitate seamless account changes between servers without compromising established connections or engagement metrics. This approach proves particularly valuable for businesses and individuals focused on building lasting digital footprints, as it prevents handle recycling and strengthens brand recognition across the platform.
Step-by-Step Handle Modification Guide
A thorough handle modification process on Bluesky requires careful attention to specific platform settings and verification steps. Users seeking to change their handle can navigate directly to the Settings menu, where the Change Handle option provides access to the modification interface.
- Select "I have my own website" when opting to use a custom domain name, entering it without the "www" prefix.
- Add the required TXT record to DNS settings for website ownership verification.
- Click the Verify DNS Record button to confirm successful implementation before finalizing the name change.
The platform validates the DNS record automatically, displaying a green confirmation message upon successful verification.
Users can then complete the process by selecting Update, implementing their new handle while maintaining their existing follower connections and platform presence.
DNS Configuration Requirements
While handle modification requires several steps, proper DNS configuration stands at the core of successfully implementing a custom namespace on Bluesky.
Users must add a TXT record to their website through their registrar or DNS provider, using the specific confirmation code provided by Bluesky. This verification process requires precise implementation at the second-level website, excluding the "www" prefix.
The system's technical requirements necessitate patience during DNS propagation, which may introduce a delay between record creation and successful verification.
Users can monitor the verification status through the platform's interface, indicated by a "Website verified!" confirmation message.
When encountering verification failures, users should meticulously review their TXT record configuration against Bluesky's provided specifications to guarantee accurate implementation.
Verifying Your Custom Domain Handle
The verification process for a custom web address handle on Bluesky requires users to add a specific TXT record containing the provided confirmation code to their web address's DNS settings.
Users must navigate to the handle change dialog, select the self-hosted web address option, and enter their verification credentials for web address ownership confirmation.
After the DNS record is configured, users can initiate the verification check, noting that propagation delays may necessitate multiple attempts before successful validation.
DNS Record Setup Steps
Setting up DNS records marks the crucial verification step for custom area handles on Bluesky. Users must add a specific TXT record to their site's DNS settings, containing the confirmation code provided by Bluesky. This process validates site ownership and guarantees secure handle customization.
The technical implementation requires:
- Entering the site without "www" prefix, confirming it's a second-level site
- Adding the provided TXT record exactly as specified by Bluesky
- Clicking "Verify DNS Record" after DNS propagation completes
Site verification may require patience during DNS propagation, which can take several hours. Users should verify the record's accuracy if initial validation attempts fail.
This systematic approach guarantees proper site handle authentication while maintaining Bluesky's security standards for custom handles.
Confirmation Wait Times
Verifying custom area handles on Bluesky involves a waiting period after DNS record implementation. The propagation process can extend up to 48 hours, during which DNS servers worldwide update with the new territory information.
| Process Stage | Time Frame | Action Required |
|---|---|---|
| DNS Setup | 0-5 minutes | Add TXT record |
| Propagation | 1-48 hours | Wait for updates |
| Verification | 1-2 minutes | Click verify button |
| Error Check | 5-10 minutes | Review TXT details |
| Confirmation | Immediate | Receive success message |
Users must monitor the verification status through Bluesky's interface by clicking the "Verify DNS Record" button. If verification fails, a thorough review of the TXT record details is essential. Successful verification is indicated by a green "Area verified!" message, enabling the final handle change implementation on the profile.
Domain Ownership Verification
Once area propagation is complete, users can begin the territory ownership verification process for their custom Bluesky handle.
During the handle change procedure, selecting "I have my own territory" initiates the verification workflow, replacing their old handle with a custom territory.
The territory verification process follows these essential steps:
- Obtain the unique confirmation code provided by Bluesky for DNS verification
- Add a TXT record to the territory's DNS settings without the "www" prefix
- Click "Verify DNS Record" in Bluesky's interface after DNS propagation
The system validates territory ownership by checking for the presence of the specified TXT record.
Upon successful verification, Bluesky displays a confirmation message, indicating that the custom territory handle is now active and properly associated with the account.
Troubleshooting Common Handle Issues
While changing a Bluesky handle is typically straightforward, users may encounter several common technical issues during the process.
Invalid handle errors often stem from formatting issues or DNS configuration problems when using custom web addresses. Users experiencing web address verification failures should verify the proper implementation of TXT records in their DNS settings.
Proper DNS configuration and TXT record setup are critical for avoiding handle verification errors on custom web addresses.
When handle changes appear unresponsive, users should account for DNS propagation delays, which typically resolve within hours.
It's essential to understand that handle modifications do not affect the account's unique identifier (DID) or follower relationships. Additionally, users must confirm their desired handle isn't already claimed by another account, as this can prevent successful changes.
Checking handle availability before initiating changes helps avoid potential conflicts and streamlines the process.
Maintaining Your Brand Identity on Bluesky
Strong brand identity management on Bluesky begins with strategic handle selection and consistent maintenance across the platform. Implementing a custom web address handle enables users to establish a professional, credible presence while maintaining control over their digital identity.
The platform's decentralized architecture, built around unique DIDs, facilitates seamless handle modifications without compromising follower connections or account data.
Key considerations for maintaining brand identity include:
- Selecting a custom web address handle that aligns with existing brand presence
- Ensuring handle consistency across multiple social platforms for enhanced recognition
- Utilizing personal web addresses to reinforce professional credibility and brand authenticity
This approach to handle management maximizes visibility while supporting Bluesky's decentralized framework, allowing users to maintain complete ownership of their online identity within the platform's ecosystem.
Best Practices for Handle Changes
Implementing handle changes on Bluesky requires careful planning and adherence to established best practices to guarantee a smooth alteration. Users should first verify their intended handle meets platform requirements and remains available before initiating any changes through the Settings menu.
Before modifying your Bluesky handle, ensure your desired username complies with platform guidelines and check its availability first.
When shifting to a new handle, particularly for those using custom web addresses, proper DNS configuration becomes essential through TXT record verification.
Since Bluesky's architecture links followers to the user's Decentralized Identifier (DID), handle modifications won't impact existing follower relationships. However, proactive communication with followers about the impending change proves vital for maintaining network connectivity and engagement.
Users should consider announcing their handle update before and after the change, ensuring their community can easily recognize and locate their new identity within the platform's environment.
Additional Handle Customization Options
Beyond basic handle changes, Bluesky offers sophisticated customization options that empower users to establish distinct digital identities. One standout feature is the ability to implement a custom web address as a handle, providing enhanced branding opportunities for professionals and organizations.
For users considering advanced handle customization, Bluesky provides several key advantages:
- Unrestricted handle modifications with no limits on frequency or number of changes
- Custom web address integration through DNS verification, requiring a specific TXT record
- Retention of followers and account history when shifting to a new handle or custom web address
This flexibility in handle customization demonstrates Bluesky's commitment to user autonomy while maintaining platform security through proper verification processes.
The custom web address feature particularly appeals to businesses and content creators seeking to align their social presence with their established brand identity.
Frequently Asked Questions
How to Have a Custom Handle on Bluesky?
Users obtain a custom handle on Bluesky by selecting "I have my own website," adding provided TXT records to DNS settings, verifying website ownership, and finalizing through the Update button.
What Should My Bluesky Handle Be?
A Bluesky handle should reflect professional identity while maintaining creativity. Users should consider incorporating their name, expertise, or brand elements, ensuring memorability and discoverability within the platform's ecosystem.
Is NSFW Allowed on Bluesky?
Bluesky's Content Guidelines explicitly prohibit NSFW content, including sexually explicit material and pornography. The platform maintains strict enforcement, allowing only non-explicit discussions about sexuality while prioritizing user safety and community standards.
How to Fix Invalid Handle on Bluesky?
Users can resolve invalid handle errors by following Bluesky's Handle Guidelines, verifying area configuration, ensuring proper DNS records, checking propagation status, and removing any unsupported prefixes from area entries.
Conclusion
Managing Bluesky handles effectively requires understanding both the platform's technical limitations and strategic opportunities. Users can modify their display names freely while handle changes involve specific protocols, particularly with custom web address integration. As Bluesky continues evolving, maintaining consistent digital identity through strategic handle management becomes increasingly vital for personal branding and network development within the decentralized social ecosystem.