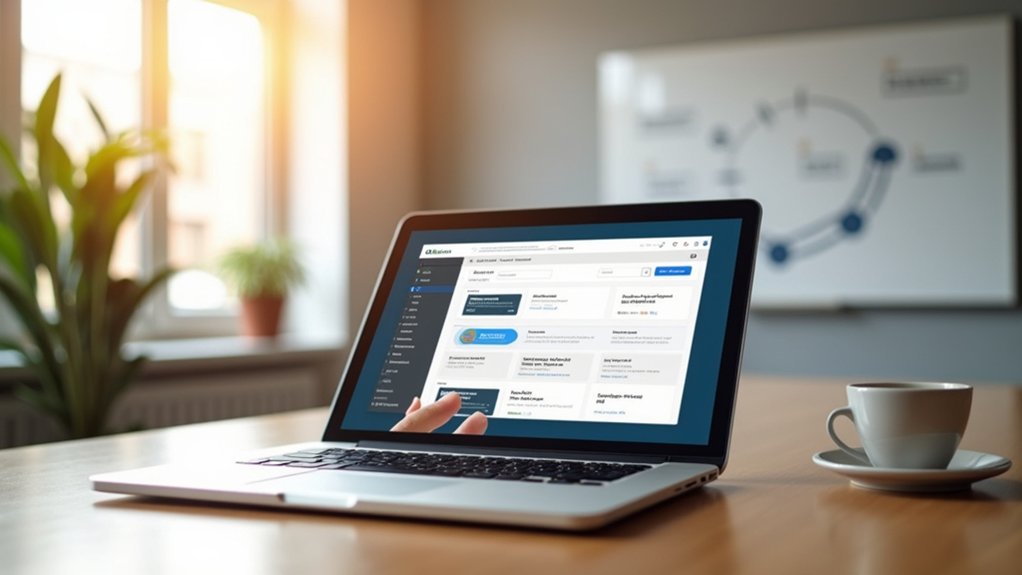
To clear WordPress cache efficiently for site enhancement, utilize caching plugins like WP Rocket or W3 Total Cache for streamlined cache purging. Access plugin settings via the “Plugins” or “Performance” menu. Hosting platforms such as SiteGround or Bluehost offer built-in cache management through their dashboards. For CDN-cached content, utilize the CDN’s management console for purging. Regular cache clearing guarantees peak performance and up-to-date content display. More insights into cache optimization await.
Key Takeaways
- Use caching plugins like WP Rocket or W3 Total Cache to manage and clear cache efficiently.
- Access your hosting platform’s dashboard to purge server-side cache quickly.
- Utilize CDN management dashboards to clear distributed cached content promptly.
- Clear browser cache after site updates to ensure the latest version is displayed.
- Regularly monitor for conflicting caching plugins to prevent cache-related performance issues.
Understanding the Importance of Clearing WordPress Cache
While managing a WordPress site, understanding the importance of clearing cache is crucial for maintaining ideal functionality and user satisfaction.
Clearing the cache guarantees visitors see the latest version of your site, particularly following updates or content changes. A properly managed cache helps optimize your site’s performance by reducing server load, thereby improving website load times.
Neglecting to clear the cache can lead to outdated content being displayed, which may confuse visitors and negatively impact your site’s credibility. Regularly updating content and clearing cache also resolves various issues, such as error messages or display problems, by revitalizing stored data.
Maintaining a routine cache clearing schedule not only enhances website performance but also secures your site against potential cache-related vulnerabilities.
Exploring Different Caching Methods for WordPress
Numerous caching methods exist for WordPress, each designed to enhance site performance and efficiency.
Browser caching allows static content to be stored locally on a user’s device, expediting future site visits by eliminating the need to reload resources from the server.
Static content stored locally speeds up future visits by avoiding server reloads.
Server-side caching, such as page caching, generates cached files of entire HTML pages, thereby bypassing repetitive database queries and boosting site speed.
Object caching augments this by holding database query results in memory, minimizing database access for frequently needed data.
Caching plugins like W3 Total Cache streamline these processes by automating and customizing caching strategies, facilitating ideal WordPress performance.
How to Clear Web Browser Cache Efficiently
Clearing the web browser cache is an essential step in ensuring that users access the most up-to-date version of a website, as it removes outdated files that can lead to display issues.
To clear your browser cache, navigate to the settings in Google Chrome, select “More tools,” then “Clear browsing data,” making sure “Cached images and files” is checked.
Similarly, in Firefox, go to “Options,” then “Privacy & Security,” and under “Cookies and Site Data,” click “Clear Data” and select “Cached Web Content.”
Regular cache clearing can resolve issues like 502 Bad Gateway errors and improve your overall browsing experience.
Utilizing incognito or private modes temporarily bypasses cached versions, allowing users to view changes without clearing cached files. This enhances performance by eliminating outdated content.
Steps to Clear Cache Using WordPress Caching Plugins
To effectively clear cache using WordPress caching plugins, users must first verify the correct installation of plugins like WP Rocket, W3 Total Cache, or Breeze via the WordPress Dashboard.
Once installed, each plugin offers specific steps to purge cached files, such as accessing the “Settings” menu in WP Rocket or the “Performance” tab in W3 Total Cache.
Regular cache clearing through these tools is essential to maintain updated site content visibility for users.
Plugin Installation Process
Implementing a caching strategy on a WordPress site often begins with the installation and activation of a reliable caching plugin like Breeze or W3 Total Cache.
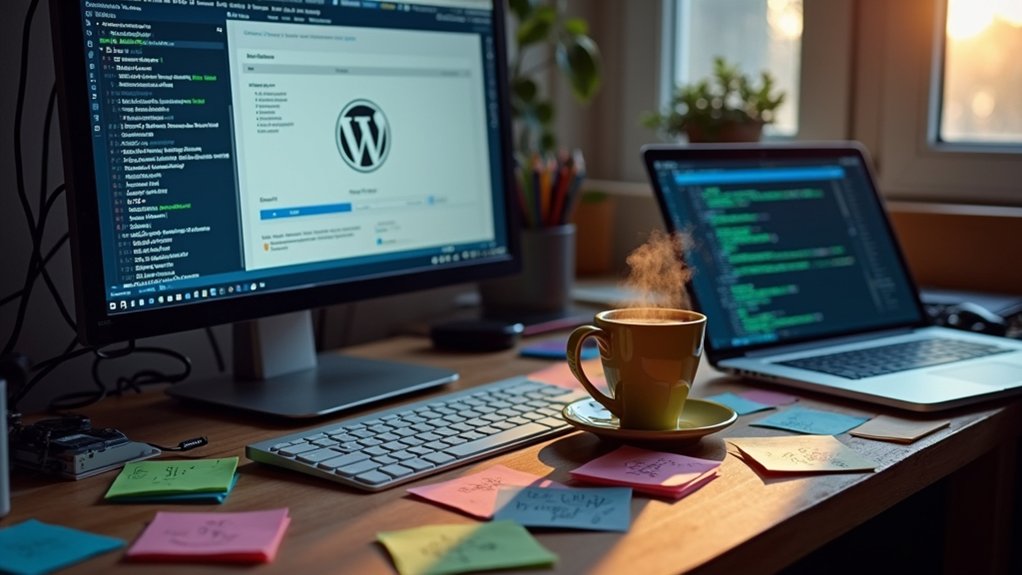
The plugin installation process involves accessing the WordPress dashboard, directing to the “Plugins” section, and selecting “Add New.” Search for a WordPress caching plugin, then install and activate the chosen plugin to clear cached files effectively.
Once activated, cache management options become available under the plugin’s settings, typically located in the “Settings” or “Performance” menu.
These caching solutions provide tools to clear your cache, ensuring users access the latest content. Regular cache clearance through the plugin helps maintain peak site performance and allows visitors to experience the most recent updates and enhancements.
Cache Clearing Steps
Maneuvering through the intricacies of WordPress caching involves understanding the specific steps required to clear cache using popular plugins. To Clear Your WordPress Cache, it is essential to explore the settings of your chosen caching plugin. WP Rocket simplifies this by allowing users to Clear Cache In WordPress with a single click on the “Clear Cache” button. The W3 Total Cache plugin requires accessing the Performance Dashboard to efficiently delete the cache through “Empty All Caches”. WP Super Cache offers a straightforward “Delete Cache” option under its settings. Employing these methods guarantees a refreshed cached version, enhancing website speed. It is also advisable to complement these actions by clearing your browser cache for complete optimization.
| Plugin | Cache Clearing Step |
|---|---|
| WP Rocket | Click “Clear Cache” |
| W3 Total Cache | Click “Empty All Caches” |
| WP Super Cache | Click “Delete Cache” |
Clearing Cache via WordPress Hosting Platforms
When managing a WordPress site, accessing the hosting dashboard is essential for efficient cache management.
Many hosting platforms, including Cloudways and WPEngine, provide built-in caching options that streamline the process of clearing cache directly from the dashboard interface.
This functionality allows users to guarantee peak site performance and content accuracy by easily purging stored cache files without needing additional plugins.
Hosting Dashboard Access
Many WordPress hosting platforms offer streamlined solutions for cache management through their dashboards, providing users with efficient methods to guarantee website updates are promptly reflected.
WordPress hosting providers like Bluehost and SiteGround integrate caching options within their hosting dashboard. Bluehost users can clear the cache by selecting the Caching button in the admin toolbar and choosing “Purge All” to enhance site performance.
SiteGround users can navigate the control panel’s Speed section to “Flush Cache,” confirming optimized site delivery. Additionally, Cloudways offers the Hosting Command Palette for cache clearance.
These methods allow users to manage caching efficiently, although some providers handle cache clearance automatically for basic plans. Such tools ensure that cached files do not hinder the accurate display of updated content.
Built-in Caching Options
While hosting dashboards provide a user-friendly interface for cache management, built-in caching options within WordPress hosting platforms offer direct control over site performance.
Platforms like Cloudways and WPEngine integrate these options, allowing users to clear all caches efficiently. In Cloudways, users utilize the Hosting Command Palette to optimize resource management by clearing caches, thereby bolstering website speed and reducing server load.
WPEngine simplifies this with a “Clear Cache” button in the environment dashboard, ensuring visitors see the latest updates promptly. Additionally, SiteGround’s one-click cache flushing further streamlines processes, emphasizing ease of use.
Employing hosting-based caching solutions is essential for maintaining an optimized WordPress site, demonstrating how strategic cache management directly influences site functionality and user experience.
Troubleshooting Common Cache Clearing Issues
Encountering issues after clearing WordPress cache is not uncommon and requires a systematic approach to identify the root cause.
Begin by investigating conflicting caching plugins; having multiple active can lead to cache issues by overriding settings.
Investigate conflicting caching plugins first, as multiple active ones can override settings and cause cache issues.
Evaluate CDN settings, as cached content might still be distributed, necessitating a purge through the CDN management dashboard.
Local caches also play a role; clearing the browser cache is essential after site modifications to prevent outdated displays.
If problems persist, deactivating caching plugins temporarily might reveal their involvement.
Moreover, improper cache management can introduce performance issues, such as outdated content or slow loading times.
Regularly monitoring the site’s performance post-cache clearing guarantees that any issues are promptly addressed and resolved efficiently.
Tips for Maintaining Optimal Cache Performance
To effectively manage WordPress cache performance, addressing common issues is only part of the equation; adopting proactive strategies is equally important.
Regularly clear cache files in WordPress after significant updates to guarantee users see the latest content. Implement automatic cache clearance schedules using caching plugins to maintain peak performance. This approach minimizes the need for manual interventions.
To further improve performance, monitor your website’s loading speed with tools like Google PageSpeed Insights, identifying caching issues that may hinder how smoothly the website runs.
Employ versioning for CSS and JavaScript, compelling browsers to load updated resources instead of outdated cache files.
Educate users on clearing their browser cache, enabling them to view the most recent site changes effectively.
Frequently Asked Questions
How to Clear Wordpress Site Cache?
To address WordPress caching issues, utilize cache plugins for cache management, adjust cache settings, and clear browser cache for speed improvement. Monitor cache types through hosting panels, ensuring performance optimization and site maintenance, while troubleshooting cache-related problems.
How Do I Purge Performance Cache in Wordpress?
To purge performance cache in WordPress, utilize cache plugins for cache management and speed optimization. Address server caching and browser cache, resolve plugin conflicts, and guarantee proper CDN integration, cache expiration settings, and troubleshooting cache issues effectively.
How Do I Clear My Wordpress Rest Cache?
To clear the WordPress REST cache, utilize cache plugins or server-side settings, optimizing performance by addressing cache expiration. Regularly clearing browser and server cache aids in troubleshooting issues, enhancing speed, and implementing effective caching strategies for website maintenance.
Is It Safe to Clear the Wordpress Cache?
Clearing the WordPress cache is a safe maintenance task that enhances site performance and user experience. Utilizing cache plugins and various cache types, such as server and browser, optimizes website speed and data storage through effective cache management strategies.
Conclusion
In summary, effectively managing cache in WordPress is essential for enhancing site performance and ensuring a seamless user experience. By understanding various caching methods and utilizing tools such as browser settings, caching plugins, and hosting platform features, site administrators can efficiently clear cache and troubleshoot common issues. Consistent maintenance and monitoring of cache settings will help maintain ideal performance, reduce load times, and improve overall site reliability, thereby enhancing the website’s functionality and user satisfaction.